Mastering High-Resolution Photography for Coin Documentation: A Step-by-Step Guide
Understanding the Importance of High-Resolution Photography for Coins
Why High-Resolution Photography Transforms Coin Collecting
Imagine holding a coin under a magnifying glass. Every groove, every scratch, every minuscule imperfection whispers a story. Now, picture capturing that story in stunning detail with high-resolution photography. It’s not just about taking a picture; it’s about preserving history, one pixel at a time.
When you use high-resolution images, you’re giving yourself—and others—the ability to see coins as if they’re right in front of them. Think about it: the intricate lines of a Roman denarius, the faint patina on a 19th-century penny, or the barely-there mint marks that could mean the difference between a common find and a treasure worth thousands. Without sharp imagery, these details risk being lost to the naked eye.
- Authentication: Zoom into the smallest details to confirm authenticity or detect counterfeits.
- Valuation: Showcase your coin’s condition to appraisers or potential buyers.
- Documentation: Build a visual archive that preserves your collection for future generations.
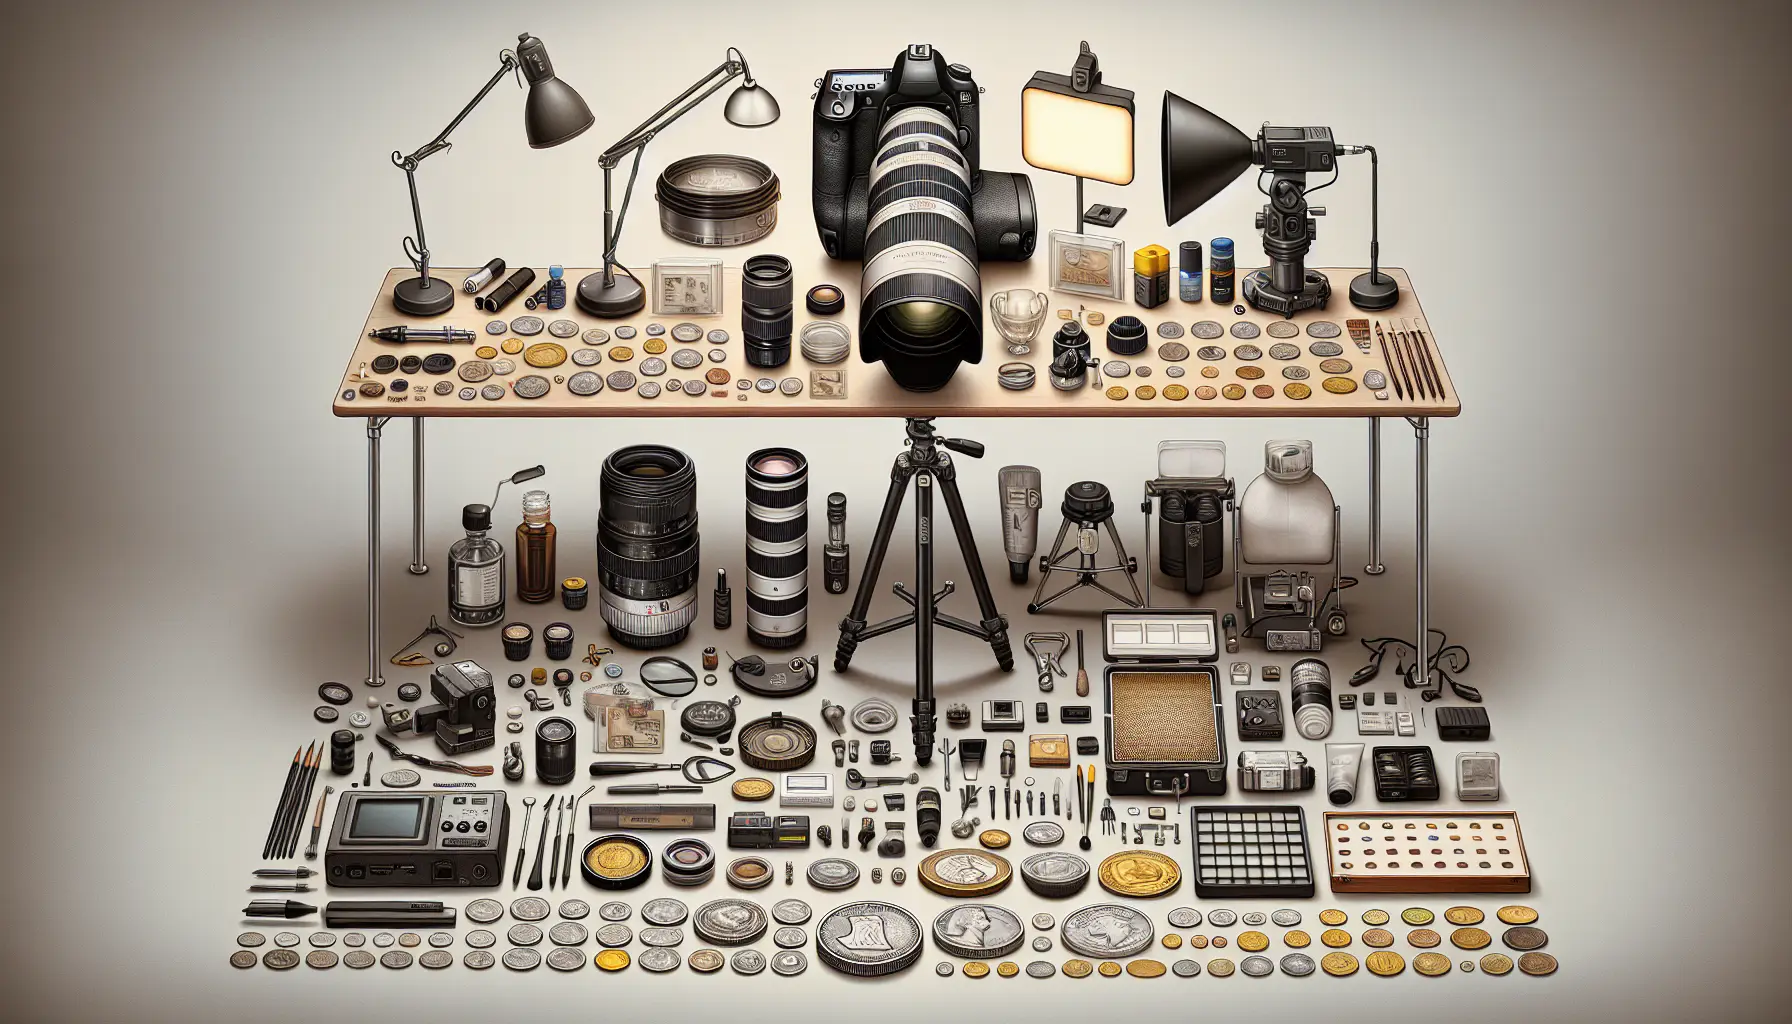
High-resolution photography isn’t just a tool—it’s an invitation to explore, appreciate, and share the stories hidden in every coin. Why settle for blurry, lifeless shots when you can reveal their true brilliance?Essential Equipment and Tools for Coin Photography
Lighting: The Unsung Hero of Coin Photography
Imagine trying to capture the beauty of a rare coin in dim, uneven light—it’s like trying to paint a masterpiece in the dark. Lighting is the cornerstone of high-resolution coin photography, revealing every detail, texture, and glimmer that makes your coin unique.
For optimal results, you’ll want to embrace controlled, diffused lighting. Harsh shadows or glaring highlights? No thanks! A simple setup with a ring light or even a lightbox can transform your photos from dull to dazzling. Think of it as giving your coin the spotlight it deserves, like a star on stage.
Pro tip: Position your lights at an angle to avoid direct reflections that could obscure intricate designs. Coins with reflective surfaces, such as proofs, demand extra care—soft light is your best friend here.
Looking for a quick list of must-haves? Here’s your cheat sheet:
- LED ring lights for consistent brightness
- A light diffuser to soften shadows
- Adjustable desk lamps for flexibility
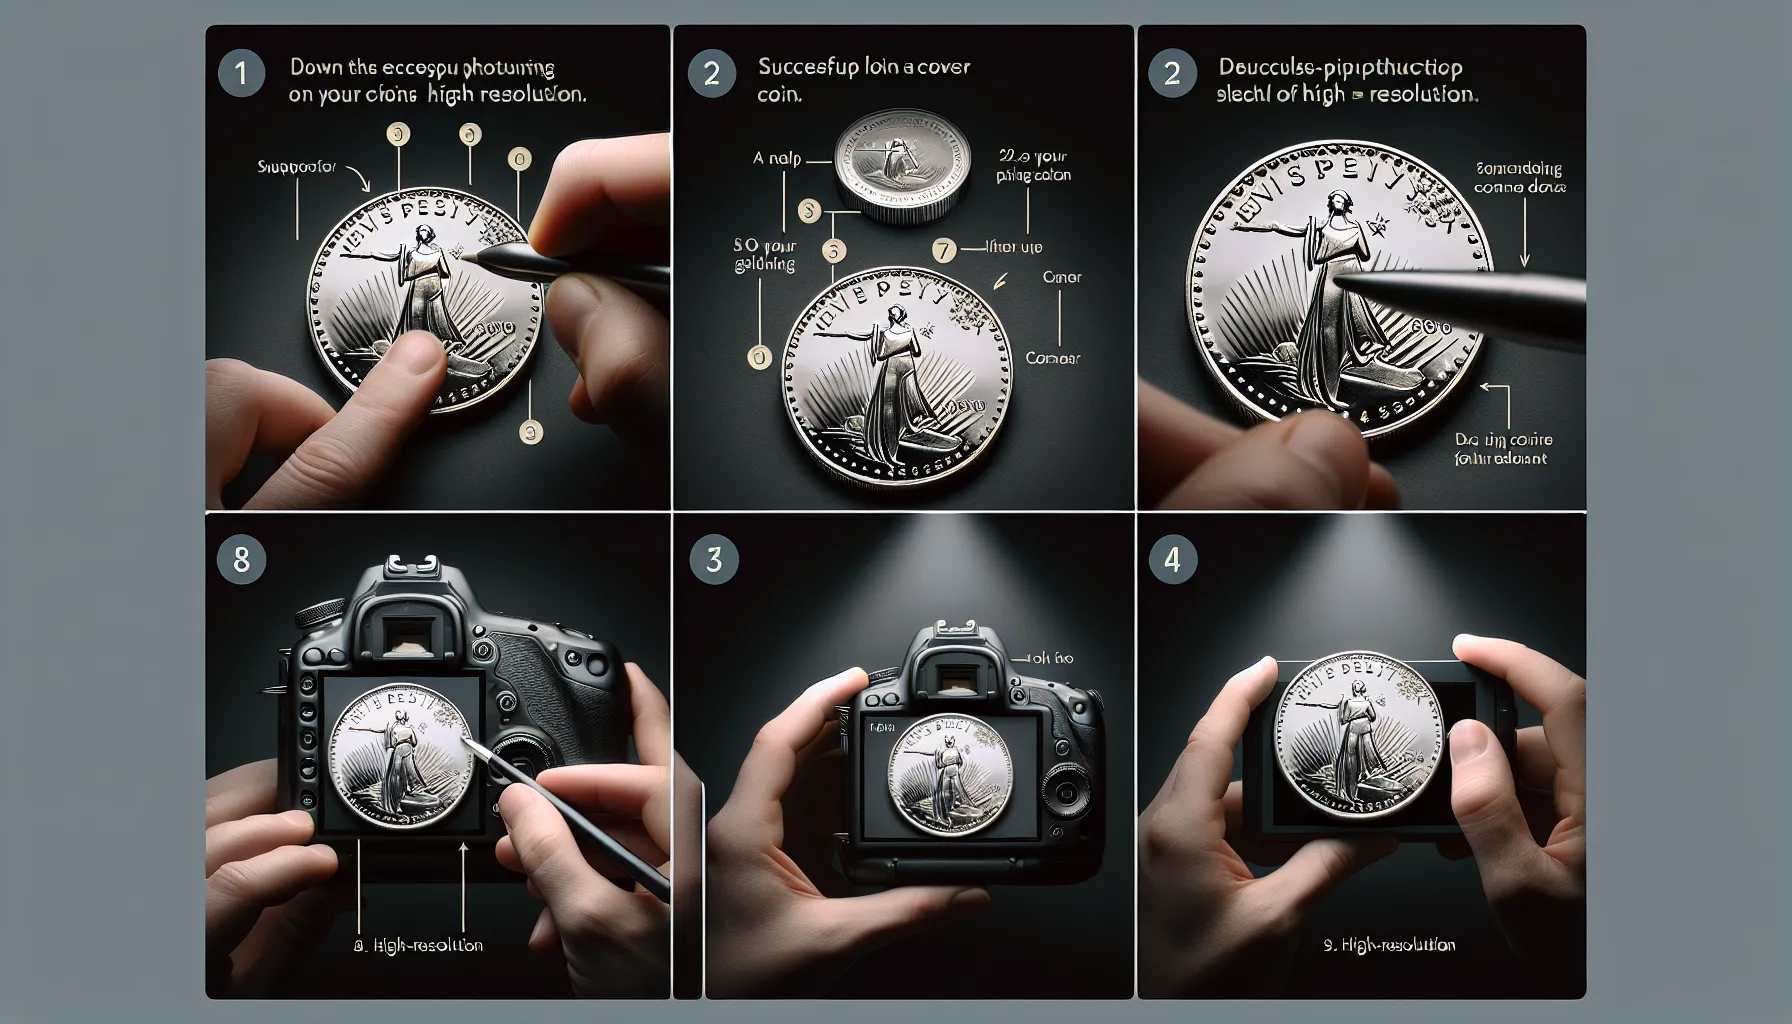
Remember, mastering lighting is more art than science. Experiment, adjust, and watch your coins shine like never before. Step-by-Step Guide to Photographing Coins with High Resolution
Unlocking the Magic of Lighting for Coin Photography
Capturing the intricate details of a coin isn’t just about the camera—it’s about how light dances across its surface. Imagine this: a Roman denarius with its silver shimmer or a gold sovereign glowing like a tiny sun. Without proper lighting, those magical details fade into obscurity.
Start by experimenting with angles. Move your light source around to discover how shadows emphasize textures like ridges and engravings. A simple desk lamp can work wonders if used creatively! But beware of harsh glares—coins are notorious for reflecting light like mirrors. Try using a diffuser, such as a soft cloth or even tracing paper, to soften those reflections.
For truly professional results, consider investing in a ring light. It wraps the coin in even illumination, making every curve pop. Or get playful with multiple light sources:
- A main light for sharp detail.
- A fill light to balance shadows.
- A backlight to add depth and drama.
Coin photography is part science, part art—master the light, and you’ll reveal the soul of every coin you document.Editing and Enhancing Your Coin Images for Optimal Results
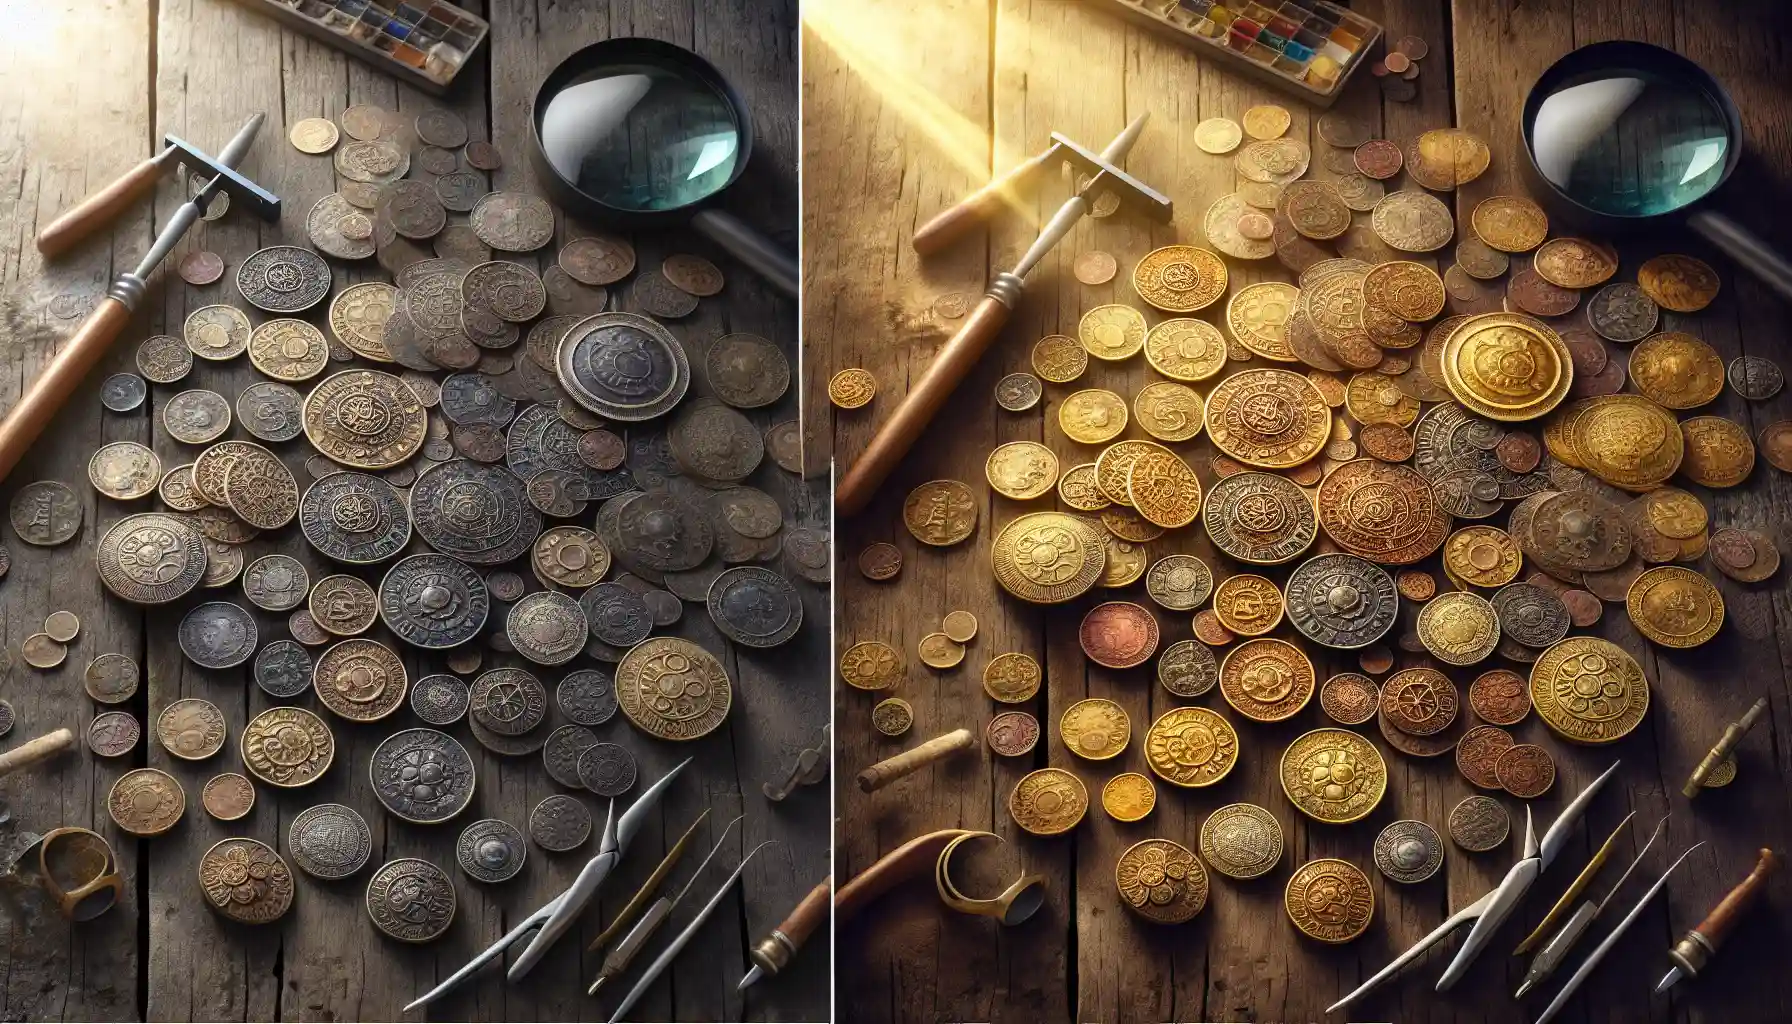
Breathing Life into Coin Images with Precision Edits
Your coin photographs deserve to shine as brightly as the treasures they capture. Editing is where the magic happens, transforming raw images into works of art that tell a story. Think of it as polishing a gemstone – every tweak adds brilliance.
Start by adjusting the basics: brightness, contrast, and sharpness. Coins often have intricate details, like raised inscriptions or delicate mint marks. Boosting sharpness carefully can make those features pop, but don’t overdo it – you’re aiming for crisp, not artificial.
Then, there’s color correction. Ever noticed how some images look dull or slightly off? That’s where tools like white balance come in. Use them to restore the coin’s true hue, ensuring your audience sees its authentic beauty. For instance, gold coins should radiate warmth, while silver pieces should glimmer coolly.
- Zoom in to inspect edges – are they too harsh or blurred?
- Use spot healing to erase distractions like dust or scratches.
Remember, editing isn’t just about perfection. It’s about creating an image that feels alive, pulling viewers into the unique world of your collection.Tips for Organizing and Archiving Your Coin Photography Collection
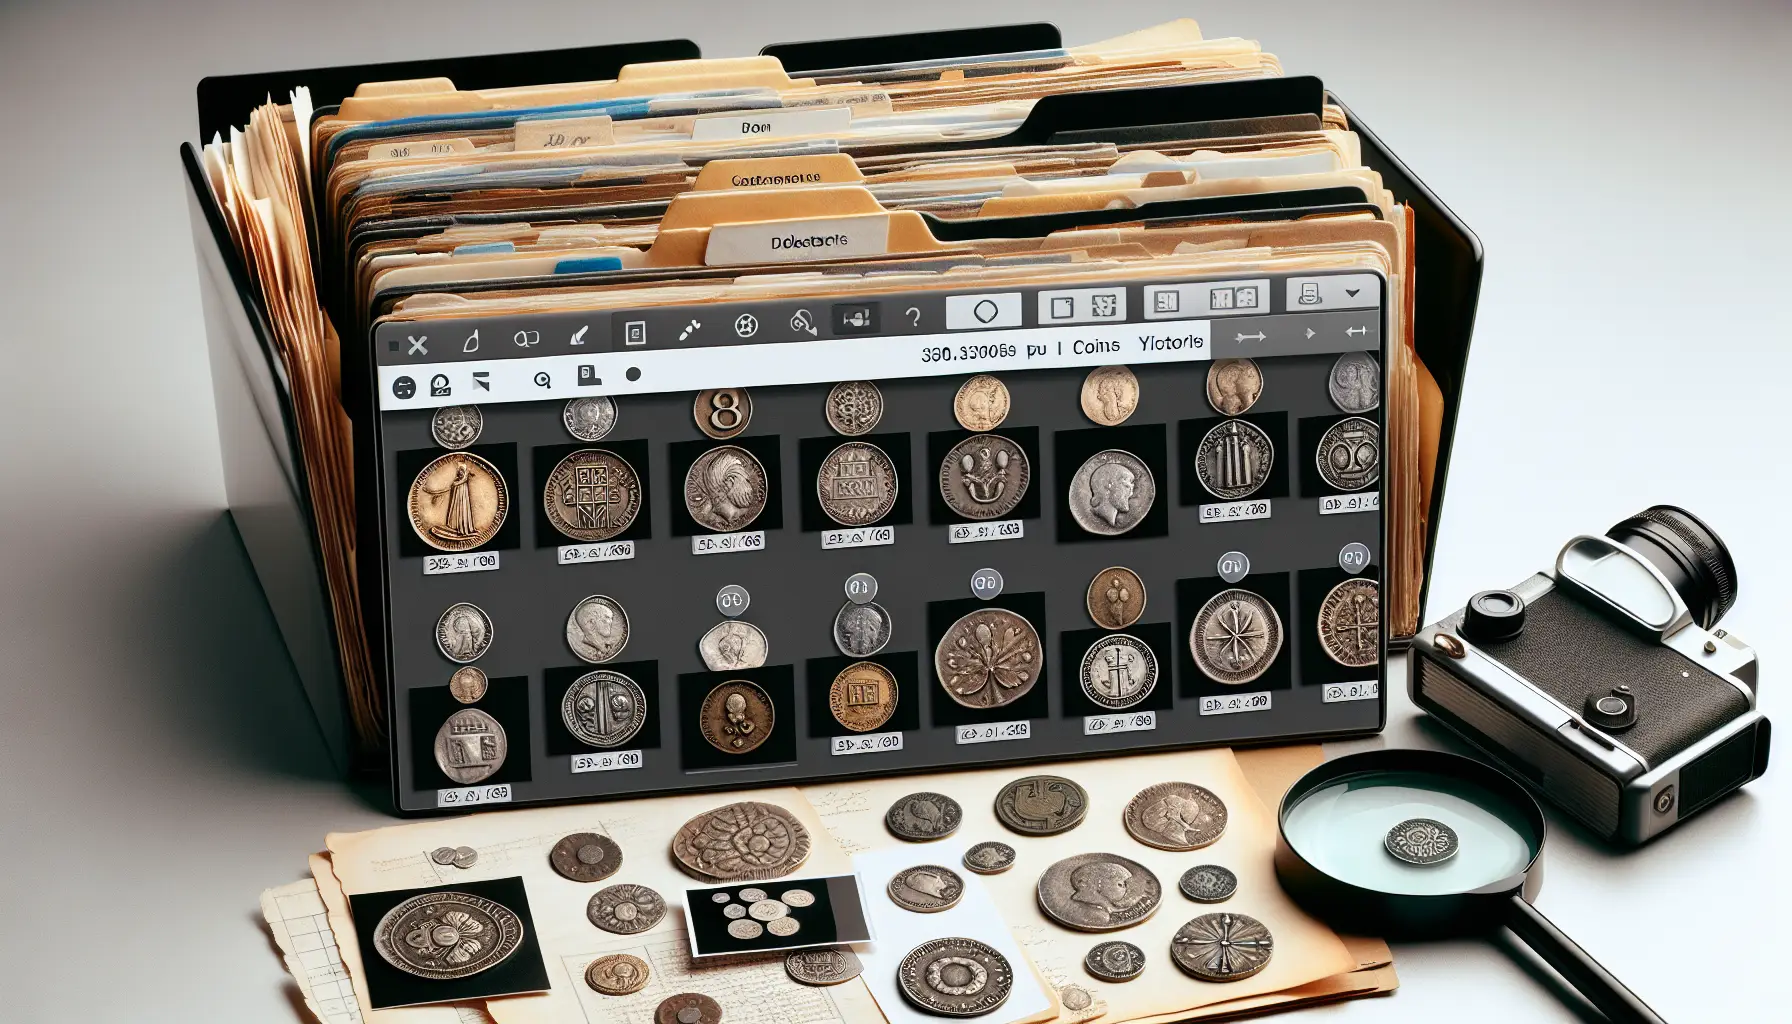
Bringing Order to Your Coin Photography Collection
Imagine this: you’ve spent hours capturing every fine detail of your prized coins, the shimmering luster, the intricate engravings—and now, they’re just scattered across your hard drive like loose change in a drawer. Chaos, right? Let’s turn that digital mess into a masterpiece of organization.
Start by creating a system that works for you. Think folders and subfolders that mimic the neat compartments of a collector’s coin case. For example:
- Main Folder: “Coin Collection Photography”
- Subfolders: Categorize by type (e.g., “Ancient Coins,” “Commemorative Coins”), year, or even country of origin.
But don’t stop there—naming files properly is your secret weapon. A name like “RomanDenarius_49BC_OBV” tells you it’s a Roman denarius from 49 BC, obverse side. Specific, clear, and future-you will thank you.
Pro tip: add metadata! Most photo software allows you to embed keywords like coin type, grade, and rarity. Imagine searching “gold doubloon” years later and finding every image instantly—it’s like having a treasure map at your fingertips.